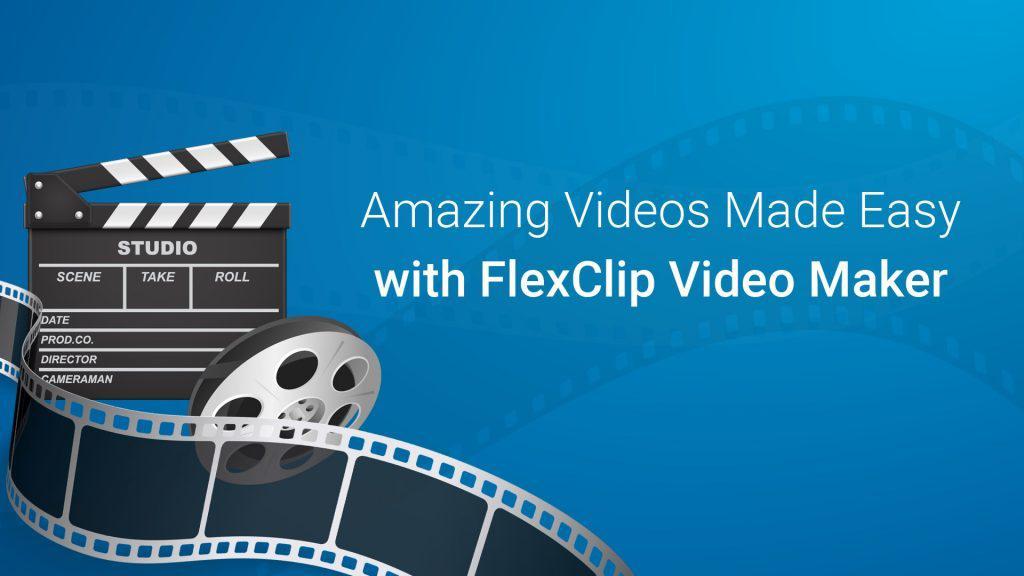
FlexClip Video Maker is a completely free web service provided by “Pearl Mountain Technology Inc.”, which allows you to upload videos and perform basic edits such as inserting title, watermark, text, and background music.
To use FlexClip requires signup, you can create an account with your email address and password, or you can log in with Facebook or Google account.
The System requirements
Browser used: Google Chrome
Be connected to the Internet
How to use FlexClip?
- Step 1 – After logging in, click “Create New” to start a new project.
- Step 2 – Add text
- Step 3 – Add watermark
- Step 4- Add music
- Step 5- Set aspect ratio
- Step 6- Zoom
- Step 7- Export video
The operation of FlexClip is simple, so it can be used intuitively when you want to easily create short movies such as promotions of companies and products by uploading videos to be edited, outputting after editing voluntarily.
Because you need to create an account, click “Sing Up – Free” button at the top right corner of FlexClip. Enter the Email address to be registered, confirm the Email, and then enter the desired password. When you click on each button of Facebook or Google, you can connect with the specified account and register it.
Step 1 – After logging in, click “Create New” to start a new project.
The working screen is the same as the general video editing application. In the left pane, you can select text such as titles to be added to the video, and select BGM etc. In the middle pane, you can edit and preview the video. In the bottom pane, add video clips and images to the storyboard.
Step 2 – Add text
To add “Text”, just click on any preset text styles. In “Logo” you can use any image file as a logo. Double-clicking on the added text opens the editing screen so you can change the font, color, size, character alignment, position, and more.
Step 3 – Add watermark
To set a watermark in a video, click “Watermark” and specify the image to use. You can then change the opacity and position of it.
Step 4- Add music
When using BGM, click “Upload My Music” under the “MUSIC” pane, and specify audio files such as MP3, AAC, Wave and so on.
Step 5- Set aspect ratio
The aspect ratio of the video to be created is set to “16: 9” by default, but it can be changed to “1: 1” under “SETTING” pane, or to the portrait of 9: 16 of the smartphone.
Step 6- Zoom
You can adjust the scaling of the video with the “Zoom” feature at the top. Clicking “Apply To All Storyboard” will apply the zoom setting to all the contents added to the storyboard in the bottom pane.
Step 7- Export video
After the movie is completed, click “EXPORT VIDEO” to output it. You can specify the resolution of the video to be output: Full HD “1080p”, HD “720p”, or SD “480p”. The created project is automatically saved, and you can continue editing if you select “My Projects” after login.
Conclusion
The FlexClip is a web application that allows you to create videos from images, video clips, and music. Through this tool, the creation of videos is done in a very simple way, and it is not necessary to have technical knowledge for the final production of them. The videos created in FlexClip can also be shared through e-mail or directly published in various social networks.